
Automation
Visual Flow Builder
Automation flows let you build intelligent auto-replies for your customers' messages — no code required.
What Is an Automation?
An automation is a scripted conversation scenario. For example:
- Customer sends "hello" → platform automatically replies with a welcome message
- Customer selects "Technical Support" → conversation is routed to a human agent
- Customer submits a request → you receive an automatic notification
Step 1 — Open the Automation Section
Click Automation in the left sidebar.
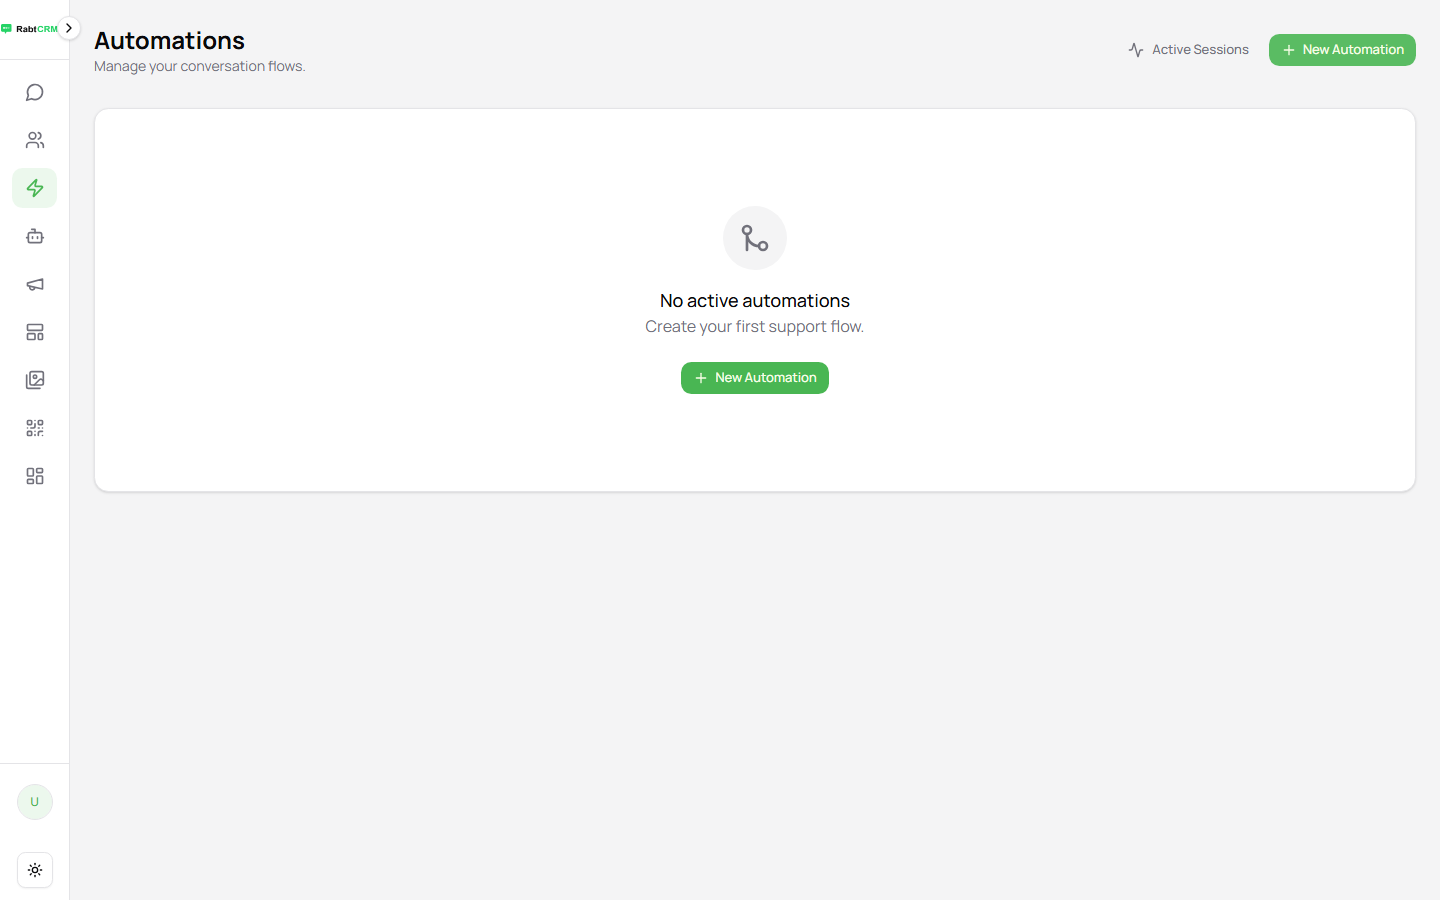
You'll see all existing automations, plus an Active Sessions button to monitor flows currently running.
Step 2 — Create a New Automation
Click New Automation.
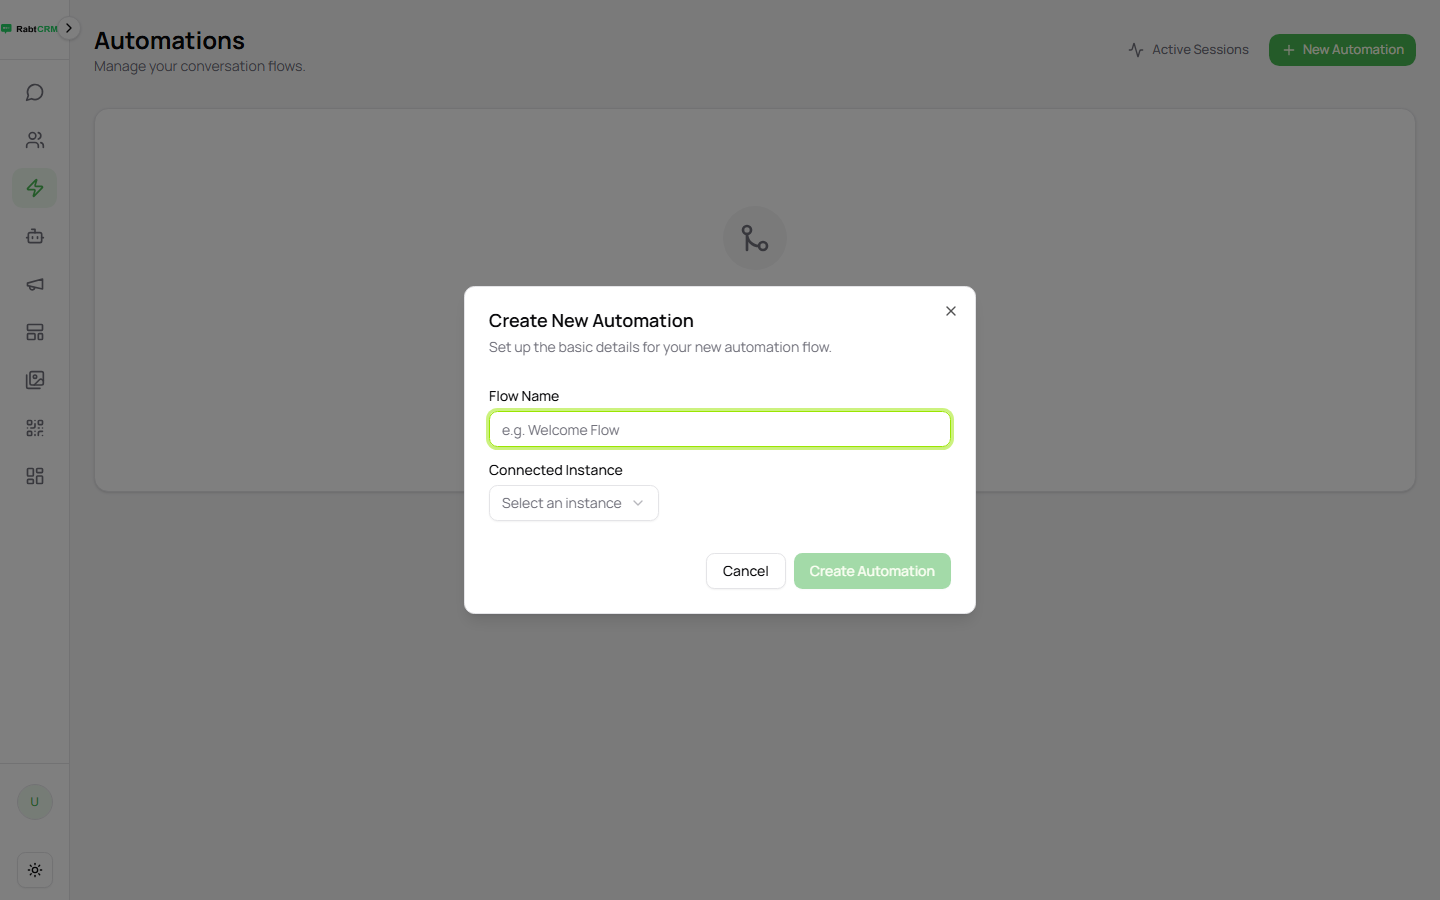
Note: Creating an automation requires an active WhatsApp connection. Make sure you've connected a number first from the Instances page.
The flow canvas opens — a visual workspace containing:
- Canvas in the center (the white space where you place steps)
- Node panel on the side to add new steps
- Toolbar at the top to save and activate
Step 3 — Add a Trigger Node
Every automation starts with a trigger that defines when it runs:
| Trigger Type | When It Fires |
|---|---|
| Incoming message | When any message is received from a customer |
| Keyword | When a specific word is received, e.g. "hello" |
| New conversation | When a customer starts a conversation for the first time |
Drag the trigger node from the panel and drop it onto the canvas.
Step 4 — Add Flow Steps
After the trigger, add the steps you need:
Message Node
Automatically sends a text message, file, or buttons to the customer.
Condition Node (If/Else)
Branches the flow based on a condition. Example: "If the customer has tag 'VIP' — send a special offer, else — send the standard message."
Wait Node
Pauses the flow for a set duration (minutes, hours, days) before the next step.
Assign Node
Assigns the conversation to a specific agent or department.
Tag Node
Automatically adds or removes a tag from the customer's profile.
Step 5 — Connect Nodes
Drag from an output point (the small circle on a node) to the input point of another node to connect them with a line.
Step 6 — Save and Activate
- Click Save from the toolbar
- Toggle the Activate switch to enable the automation
Once active, the automation runs automatically on every conversation that meets the trigger condition.
Tips for Beginners
- Start with a simple automation: "Auto-welcome on first conversation"
- Test by sending a message to yourself on WhatsApp first
- You can activate/deactivate an automation at any time without deleting it
- Monitor Active Sessions to see which flows are currently running